How to Get Verified on Twitter
Have you ever felt like a celebrity on social media?
I’ve had a moment or two when someone I really like or admire reshares a post of mine, or when people from across the world happen to come across my content and like or follow.
Social media has that unique ability to take non-celebs like me and thrust us into the spotlight every now and then.
Well, now Twitter’s gone one step further. You can apply to be Twitter verified and receive a blue checkmark badge next to your name. To become verified on Twitter, you simply update your profile with current information, verify a phone number and email address, then fill out a form requesting consideration as a verified user.
It does provide a bit of an ego boost and celebrity moment to see the blue badge, but here’s the real kicker: There are significant business/brand advantages to being Twitter verified.
I’d love to show you how you can get your business or brand verified on Twitter and the great things that might mean!
How to Get Verified on Twitter, Step-by-Step
- Fill out your profile completely with profile picture, cover photo, name, website, and bio
- Add a verified phone number and confirm your email address
- Add your birthday
- Set your tweets as “public”
- Visit the verification form on Twitter
(Note: If you’re applying for verification of a personal profile as opposed to a business profile, you’ll also need a copy of a photo ID like a passport or driver’s license.)
In Twitter’s announcement about verified accounts, they listed a few particular elements that might be a factor in which accounts they choose to verify and which they don’t. The biggest factor in getting verified on Twitter is that the profile is of public interest.
To explain a bit further, Twitter mentions that “public interest” might include public figures and organizations in the fields of:
- Music
- TV
- Film
- Fashion
- Government
- Politics
- Religion
- Journalism
- Media
- Sports
- Business
- and other key interest areas
So long as you meet the minimum guidelines with your profile (things like having a profile photo and a verified phone number, etc.), the verification process seems to be a bit subjective in ultimately deciding what is of “public interest.”
If you go through the process once and don’t get verified, no worries. You can try again in 30 days.
In terms of the minimum guidelines, here’s a bit more about how to complete each one successfully.
Verify your phone number on Twitter.
You can add a phone number to your account here; to verify the number, enter the verification code that Twitter sends to your email. This is what it looks like if your phone number is verified:

Confirm your email address.
You can add your email address here; to confirm the email, click the link that Twitter sends to your email address. This is what it looks like if your email address is confirmed:
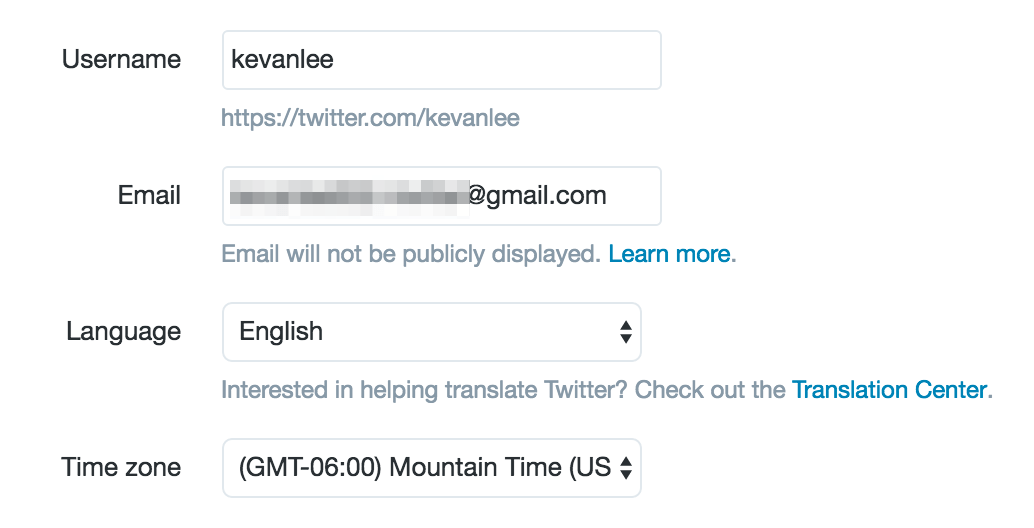
Add a bio, profile photo, cover photo, birthday, and website.
To add or edit this information, visit your profile on Twitter (in my case, twitter.com/kevanlee). If you’re logged in, you should see an “Edit Profile” button to the right of your Twitter stats.
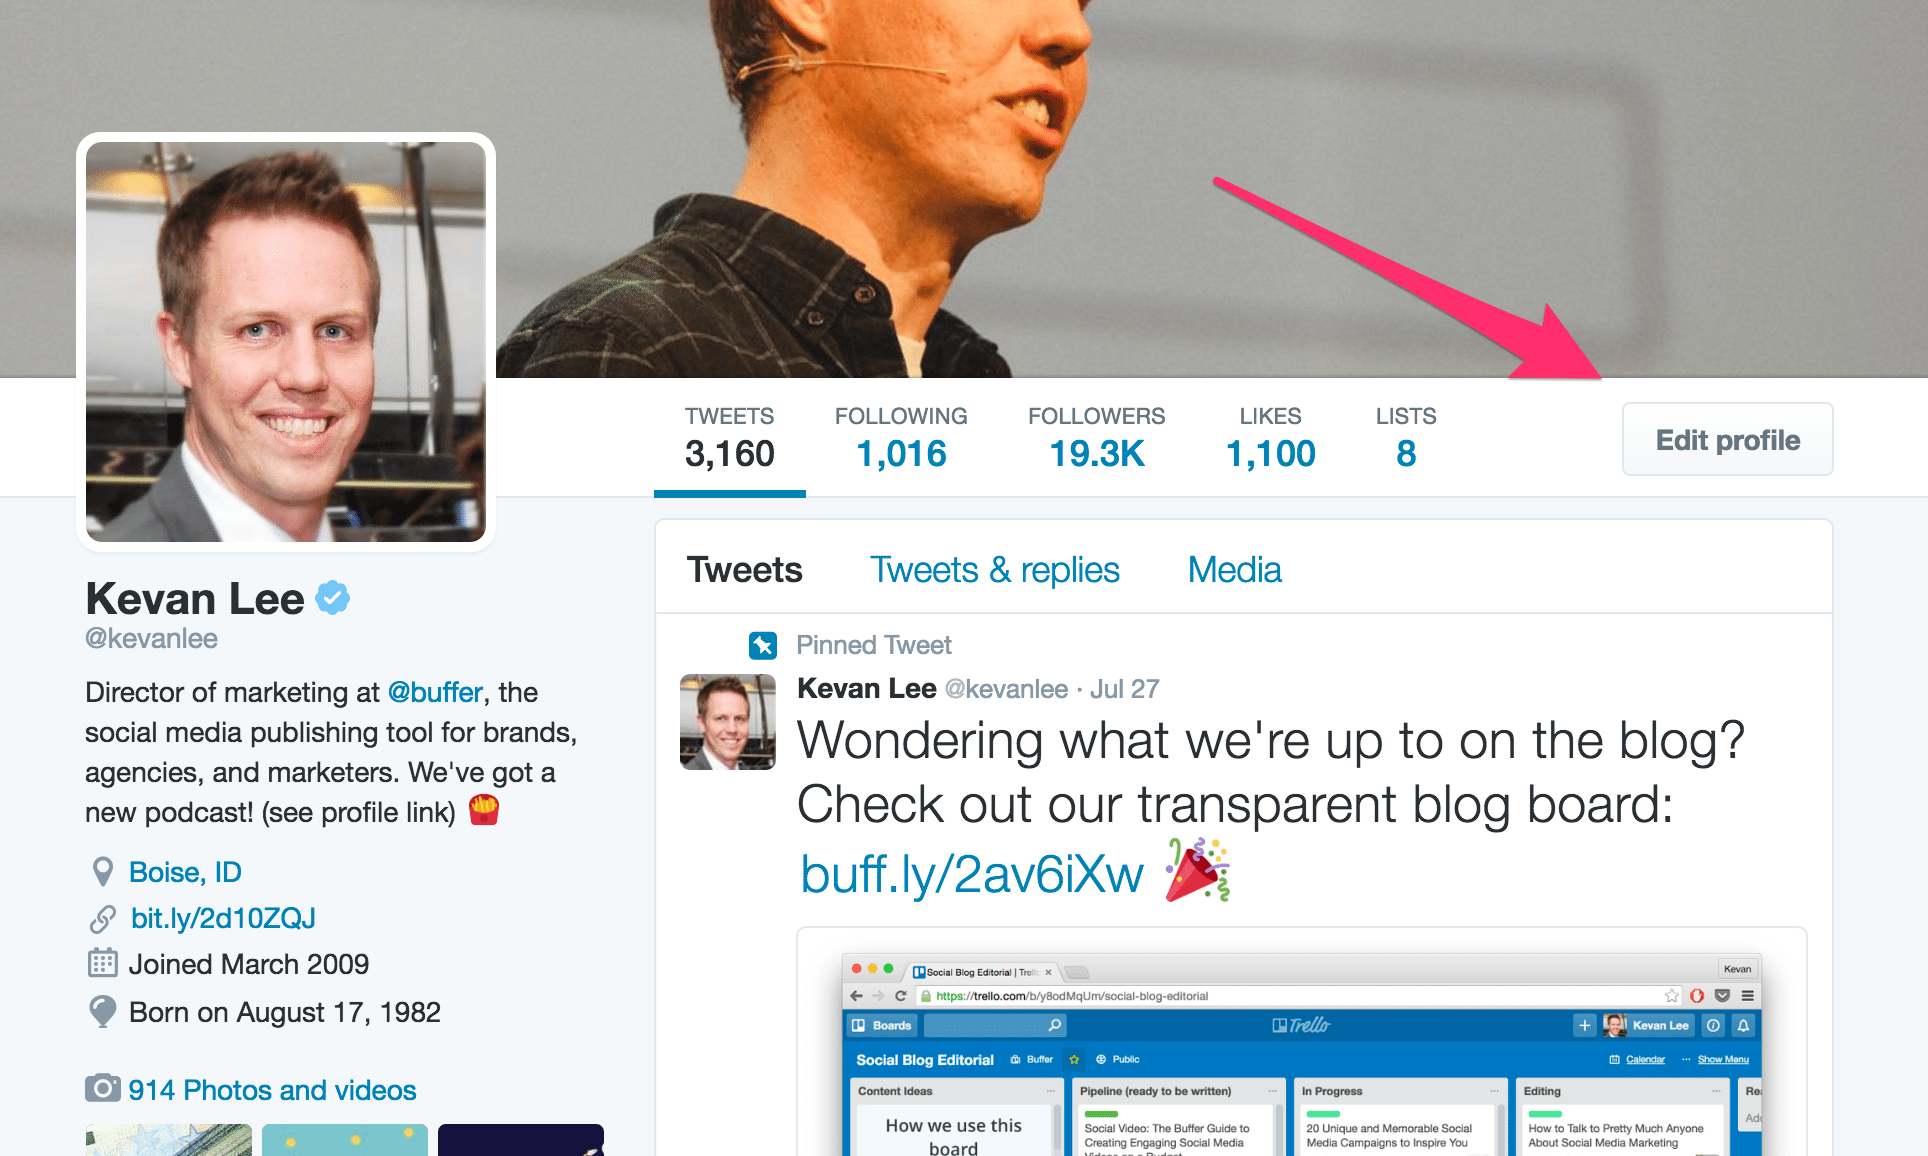
Clicking the edit button will make the various aspects of your profile editable. You can click to change your cover photo and your profile photo. You can edit the text areas directly from this screen.
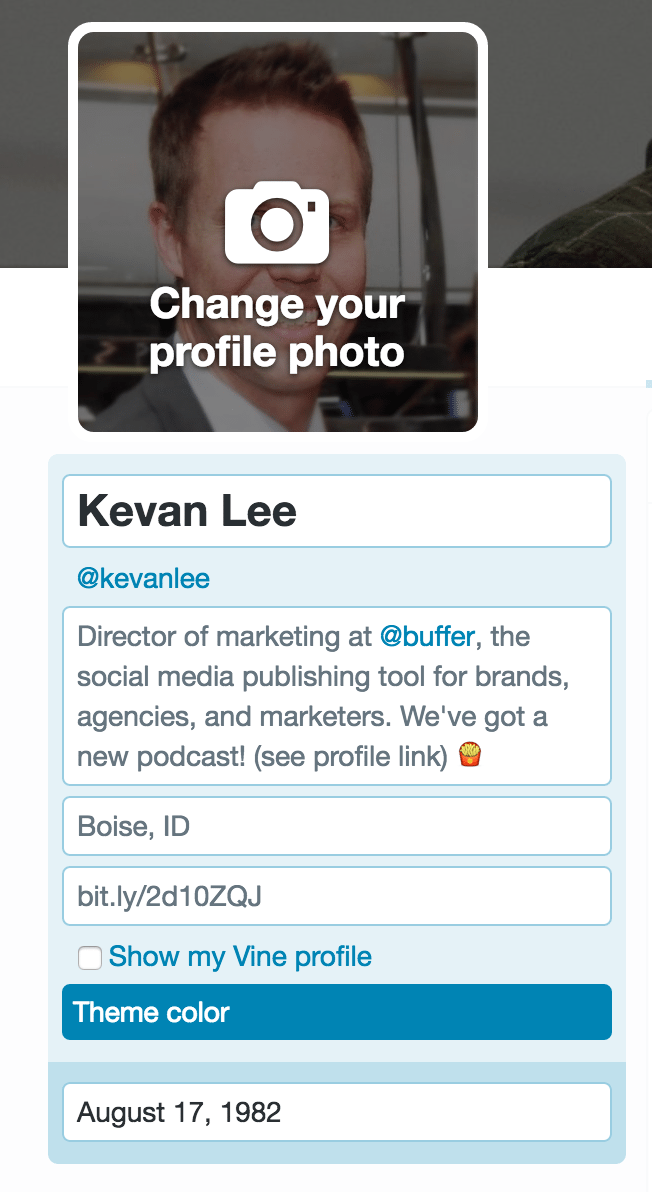
In editing this information, Twitter recommends that your profile name is the real name of the person or the organization, that the profile photo and cover photo accurately represent what you’re about, and that the bio mentions an area of expertise or company mission.
Here’s a pro tip for adding a birthday: When you’re entering the birthday information on the web, click the lock icon to choose who can see your birthday on your profile.
Set your tweets to “public.”
Visit this page in your Twitter security and privacy settings, and make sure the checkbox for “Tweet privacy” is unchecked.
—
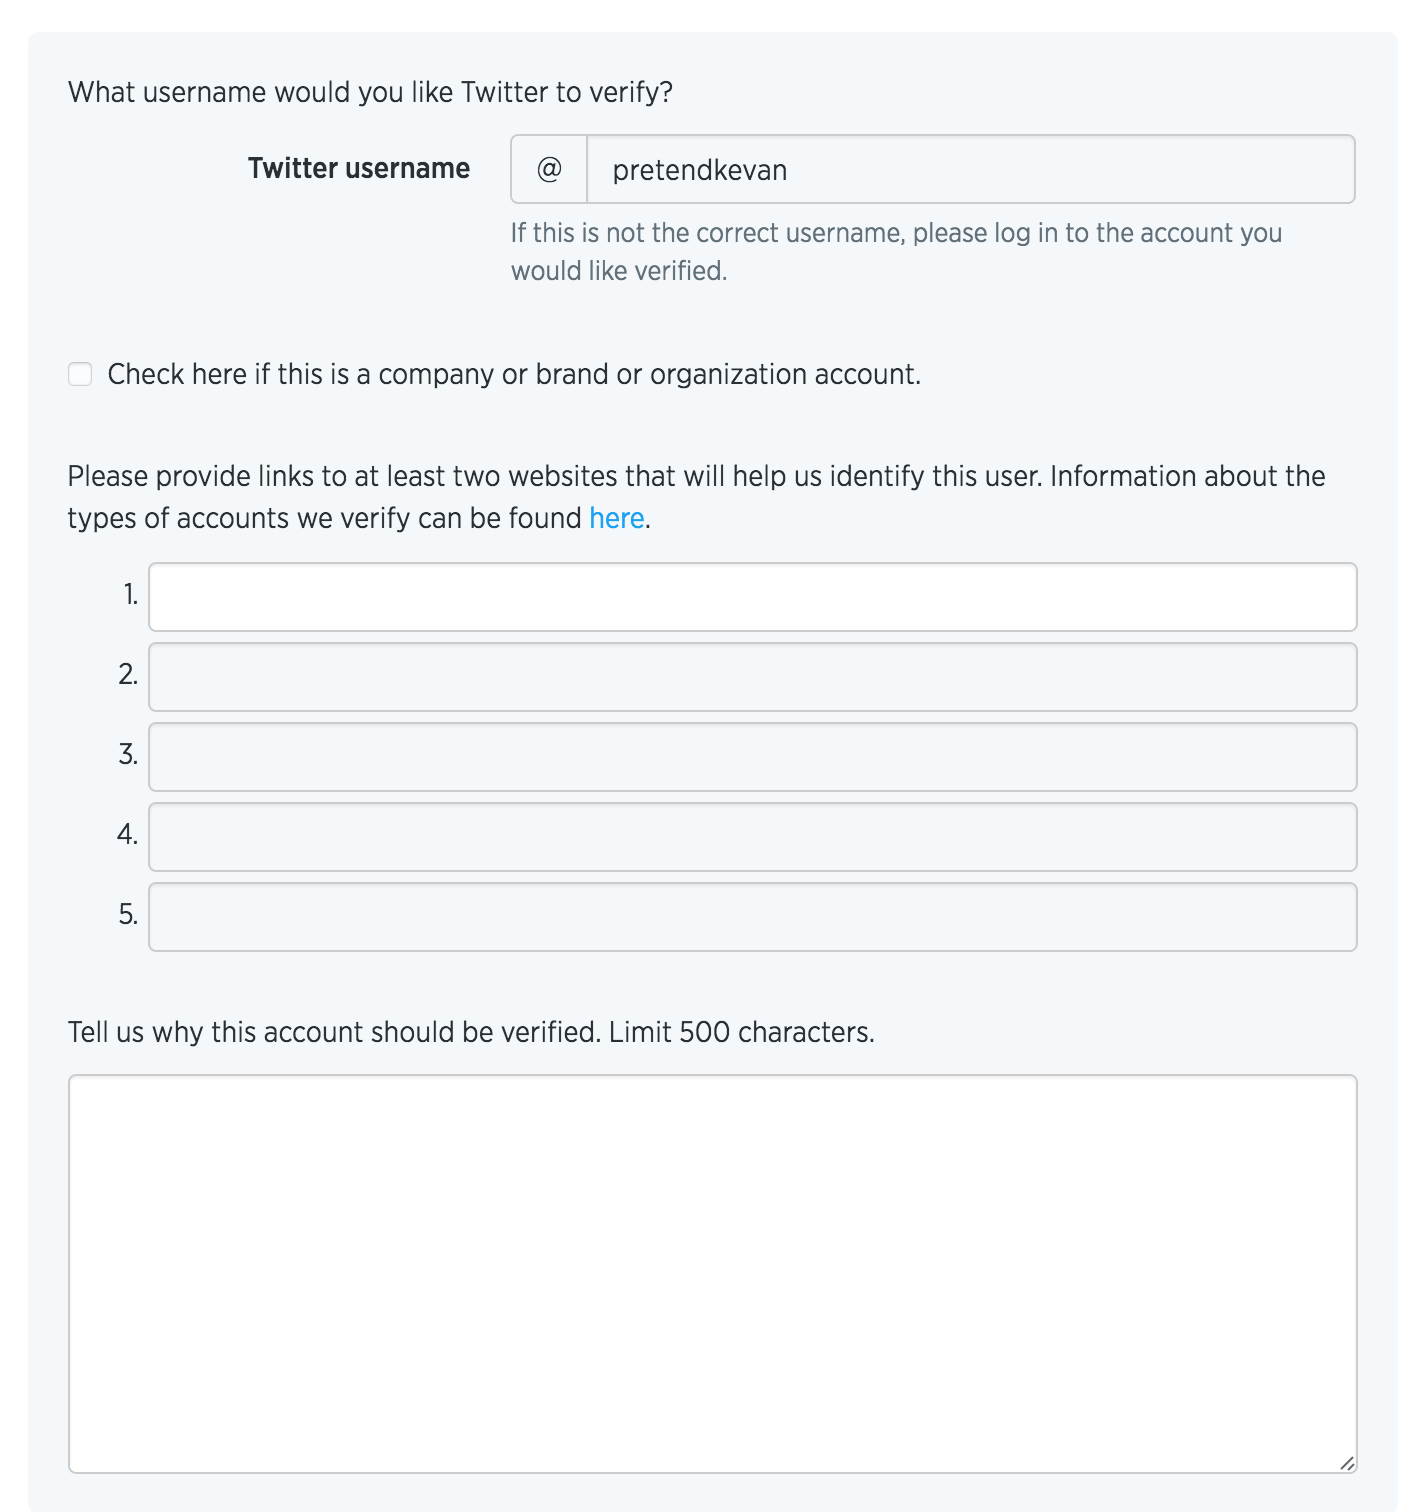
As you’re going through the verification process, Twitter will ask that you be logged in to the account you wish to verify. There will also be a paragraph section toward the end where you get to tell Twitter why you should be verified (this was the most time-intensive part of the process for me). You can share links to support your claim, too, so this might be something you want to think about or plan ahead.
Here’s what the form asks for specifically:
—
10 Ways to Maximize Your Chances at Getting Verified on Twitter
I was very fortunate to get the favor of the Twitter verified team on my first attempt. I’m still not sure I fully deserve it! However, I was glad to see that a bunch of the pre-work I did to ensure my profile was looking its best seems to have paid off.
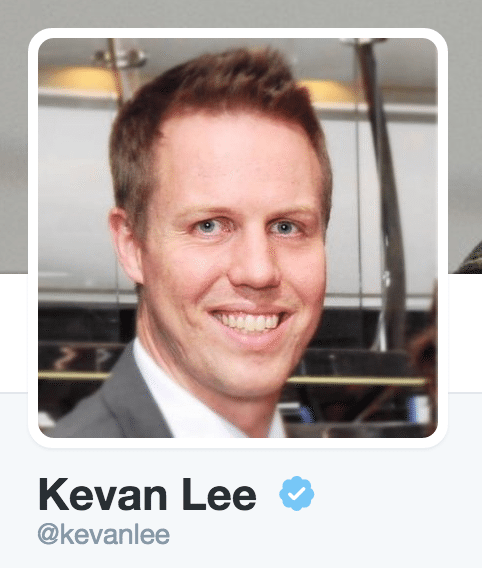
There is no way to know for sure what factors go into the decision to verify a user or not. These are some of the things that I tried for myself and feel might be useful if you’re thinking of giving it a go.
1. Make sure your Twitter profile has been active, consistently, for the past two weeks.
There’s this cryptic bit of advice from Twitter: “Before you apply, take a look at your account to make sure it’s ready.”
What does “ready” mean exactly?
It’s hard to tell, but one possibility might be that a “ready” profile means an active profile.
When I first heard that Twitter was allowing users to request the verified badge, I wanted to do it right away. The only snag: I realized I was in a bit of a Twitter lull and hadn’t posted for a couple weeks. So did a bit of work:
- I hopped into Buffer and filled up the Buffer queue for my Twitter account for the next 30 days.
- I also made sure that I was actively engaged with my @-mentions and direct messages in the days immediately before and after I submitted the verified form.
I’m not sure to what degree it actually helped. These things tend to matter when we check out Twitter profiles for potential Buffer hires, so my sense is that the Twitter verified team would notice the same!
2. Link to other verified Twitter accounts in your bio.
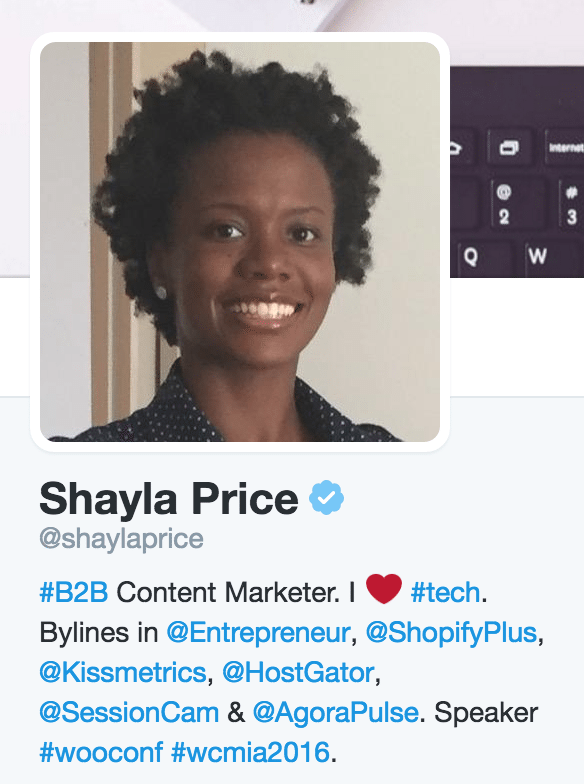
This one seems to give a bit of social proof to one’s chances of being verified. Within your Twitter bio, you can @-mention any other profile on Twitter. Bonus: It’s a good practice for writing a great Twitter bio that helps you gain more followers.
If you’re an individual, you can add your current employer, past employers, or connections you have with other members of the Twitter community (“husband to @mywife” or “building a product with @partner”).
Try our full stack of brand building tools
We’ve built a full stack of social media tools to help modern brands grow their awareness, engagement, and sales.
Start a free 14-day trialIf you’re a company, you can mention parent companies or VCs that have funded you.
I was lucky to be able to @-mention Buffer in my bio.
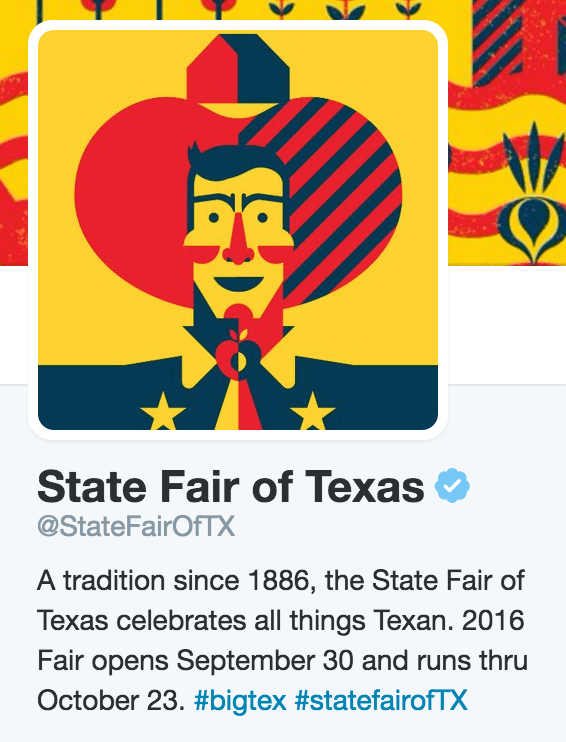
3. For organizations, add numbers and specifics to your Twitter bio.
4. For individuals, use the biggest job title you can in your bio.

Similar to the above tip for organizations, this one requires that you sell yourself a little. Before I reached out to Twitter, I had my profile listed as “Content @buffer.” I changed it to “Director of marketing @buffer.” Here are a few other semantic changes that might spark some ideas for you:
- Content marketer = Published at @TNW and @Lifehacker
- I run a blog = Founder of @ProBlogger
And here are some tips that Neil Patel shared on the Buffer blog:
- If you started a company, welcome to the ranks of the “entrepreneur.”
- If you helped a company, you are a “problem solver.”
- If you run sometimes, maybe you can be a “fitness guru.”
- If you give to charity, perhaps you’re a “philanthropist.”
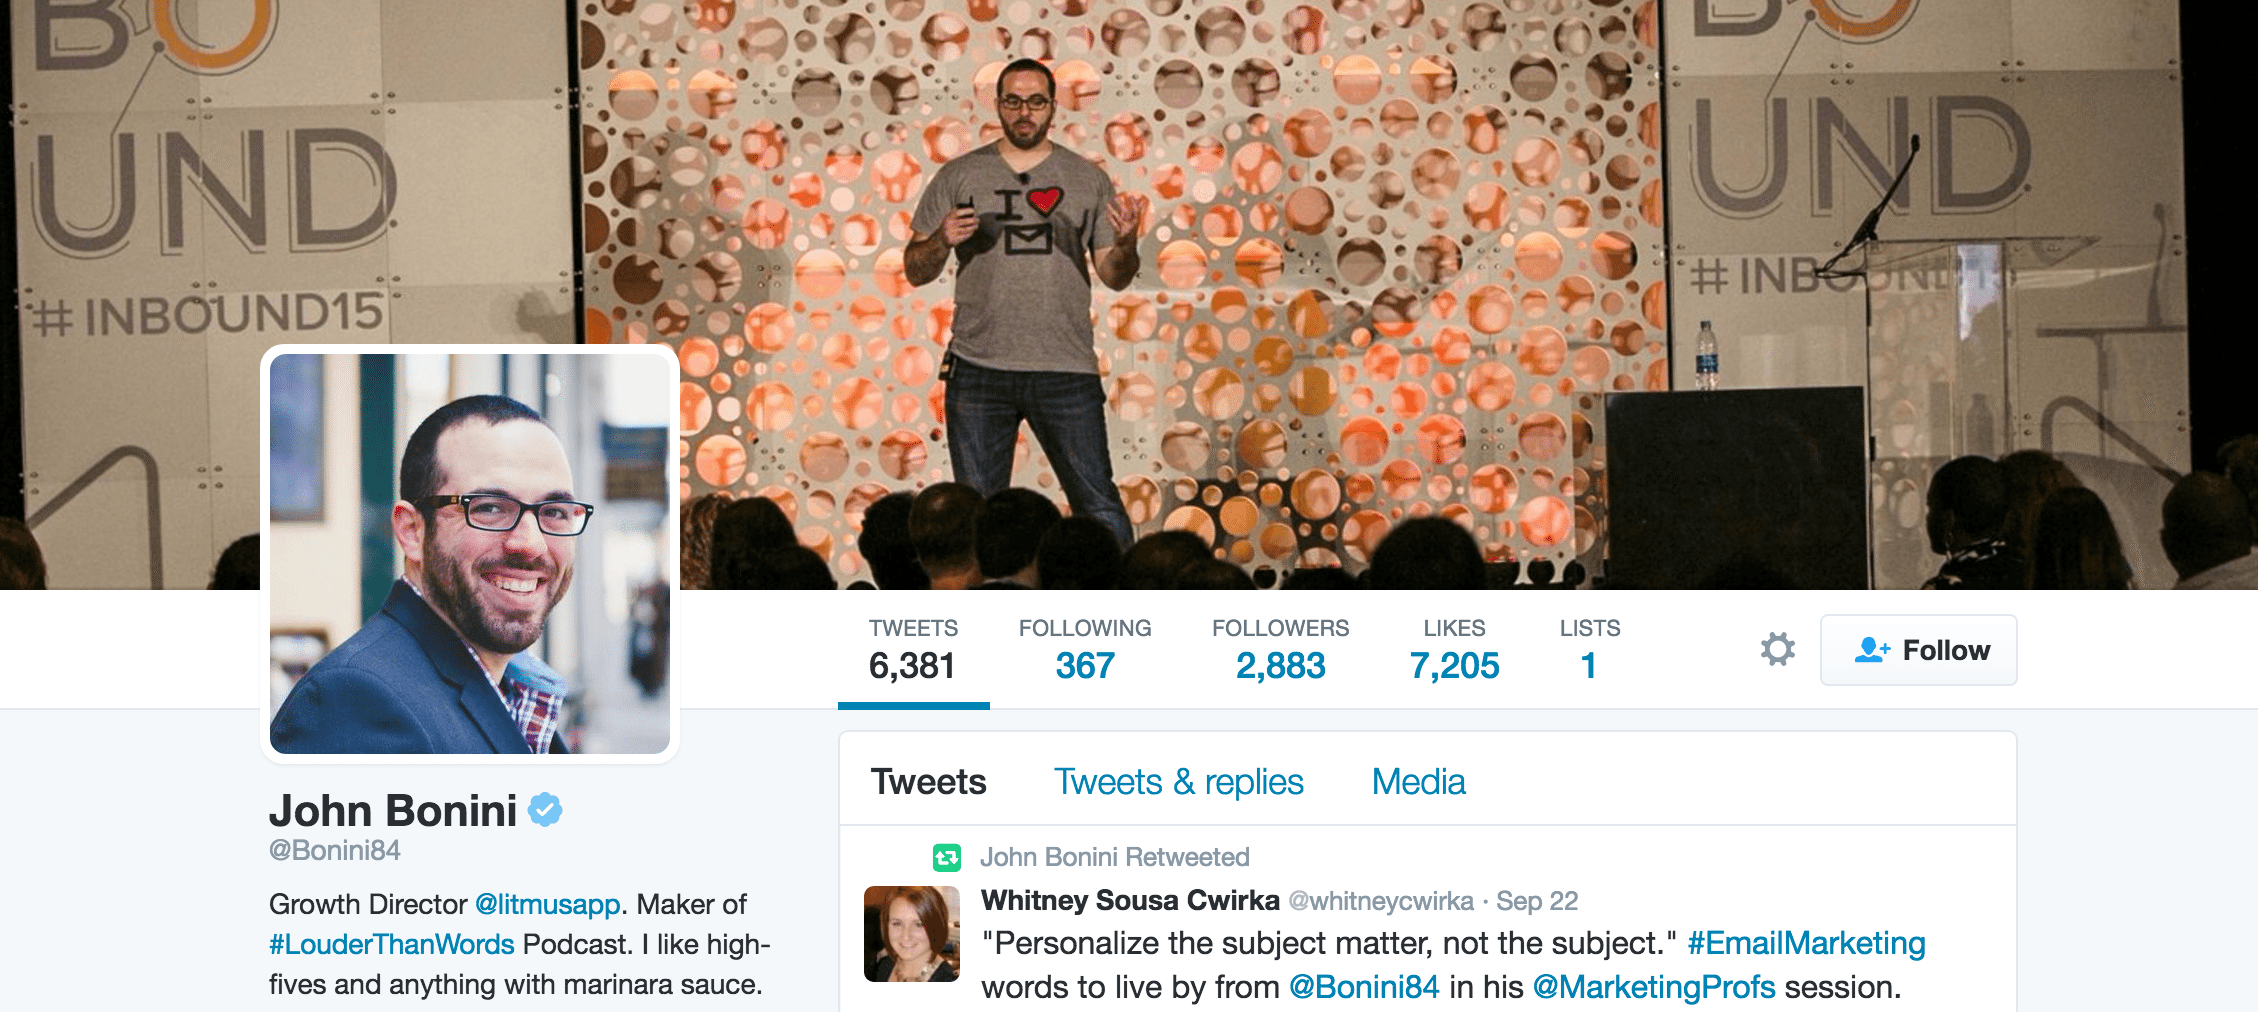
5. For people profiles, add a cover photo that shows you doing something important.
For a long time, I had used an inspiring quote as my cover photo. It looked pretty nice, I thought (thanks to Canva). But it wasn’t quite as powerful or descriptive of a person of “public interest.”
Fortunately, I had the chance to speak at Unbounce’s CTA Conference a few months before, so I added a picture from when I was speaking on stage. John Bonini of Litmus does it really well here, too:
6. In your “why I should be verified” paragraph, write your pitch with empathy for the Twitter community.
One of the quotes I love from Dale Carnegie’s How to Win Friends and Influence People is this one:
It’s spot-on advice for filling out the Twitter verification form and writing the paragraph about why you should be verified. Show an interest in how your being verified can help the Twitter community. Does it help your audience find you easier? Are you often confused with others and are keen to help improve that experience? Are you a business who wants to provide great, fast, trusted support to your Twitter audience?
I took a Dale Carnegie approach with my paragraph for Twitter verification, mentioning how I’d love to be able to connect easier with the people who follow the Buffer blog and the other places where our content is syndicated. I’m not sure how much this approach weighted things for the Twitter team, but it felt like a good step!
7. Be exact with the location in your bio
I’ve seen a lot of clever, original ways that people have used their location field in the Twitter bio. At Buffer, since we’re a fully remote team, we list our location as “Worldwide.”
Other people have chosen a humorous path. My all-time favorite is “Location: Spaceship earth.” ? ?
It’s very possible that the location field doesn’t matter much. I didn’t want to take any chances.
My location was listed as “Idaho,” which I always thought was specific enough since not too many people know specific cities within my sparsely populated state. However, just to play it safe, I went ahead and added the city: Boise, Idaho.
8. Choose a variety of links to submit
Submitting the Twitter verification form reminded me a bit of applying for a job. I wanted to give people the best, broadest sense of how I could be a fit. As a writer, this often means submitting links from a variety of sources where you’ve been published. For Twitter, I went one step further and added conference speaking engagements (both ones from the past and from the future).
Generally-speaking, share as many positive mentions of you or your business, from as many big sources as possible. This could be:
- Bylines from major websites or publications
- Author pages at major websites or publications
- Press you received from major publications
- Awards
- Speaking engagements
- Company profiles
9. You must submit at least two links. Be sure you submit the maximum five links.
Though Twitter lets you submit only two links, you definitely want to maximize this by filling in links for all five spots. Be creative (see the list above).
10. View the list of recently verified users for inspiration
This is one that I wished I had found earlier. The Twitter account @verified follows all the verified accounts on the network. If you click over to their “following” tab, you can see a list of everyone who has recently been verified. The full list is over 215,000 people and companies.
You can scroll this list for ideas and inspiration for what might be worth trying to get verified.
One thing you’re likely to notice: There’s a lot of variety! It seems there might not be any one right way to get verified. My best advice would be to find people or organizations that might be similar to you and take some learnings from the way they pitch themselves.
Another thing you might notice: You don’t have to have thousands of followers to get verified. There are many, many verified profiles with 2,000 or less followers. Don’t let follower count stop you from applying for verification!
Why It’s Important to be Twitter Verified
There are likely to be a lot of obvious benefits to having a verified status on Twitter.
- You might get more followers
- You’re bound to gain trust and respect from the community
- You have one more data point on your being an influencer/authority
There are some immediate platform benefits, too. You can opt out of group DMs, and (this one’s quite cool) you can filter your notifications to include only notifications from other verified users.

It’s this last point that might be the most important.
By being verified, you will always have a closer connection to other verified users. Your likes, replies, and retweets of other verified users can never be hidden.
And to look ahead into the future, this may be an area that Twitter moves toward for everyone. The “Verified” filter is only available to other verified users now, but it’s possible that this could be rolled out to all Twitter users in some form, perhaps even as a filter in the main Twitter stream.
Being verified ensures that your content and your interactions always remain visible for the maximum number of Twitter users possible.
It’s a bit early to tell for sure where Twitter may head, though it never helps to get ahead of the curve if you can. Just in case. 🙂Over to you
Does Twitter verification sound like something you might give a try?
If you’ve already tried it out, what was your experience? Any tips to share? Any questions to ask?
I’d love to hear from you in the comments and keep the conversation going there!


